Baking Tools
These are my favorite (and what I think are the best) baking tools! These tools help me bake and decorate the desserts you see on my blog and YouTube channel.
I could not do it without them! Plus, most of these tools are inexpensive and will last you years and years! Win, win!
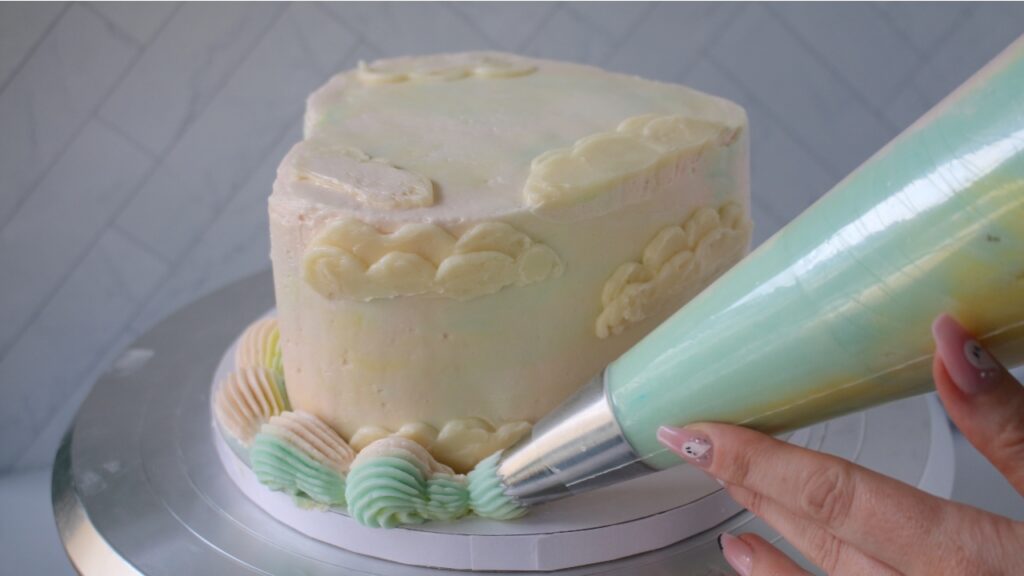
When you first get into baking, it can be overwhelming thinking about all of the ingredients and bakeware items.
My collection of bakeware, tools, dyes, cake stands, etc – was all accumulated over time! ?
Start With the Essentials
Instead of thinking you need to get everything at once, let’s just start with the basics. Maybe you’re into baking cakes, or you only make sugar cookies. Whatever you are interested in, this is my best baking tools list for beginners.
- Good quality bakeware (cake pans, cookie sheet pans)
- Turntable for cake decorating
- Offset spatula
- Bench scraper
- Piping tips
- Disposable or reusable piping bags
- Cake boards
My interest in baking led to starting a small baking business. Because each order was for a unique design, I started investing in different tools like piping tips, stencils, different sized pans, etc. There are so many ideas and tools out there, so believe me when I say, I know it can be overwhelming.
Having the right baking tools will make a difference in your baking. Tools are meant to help us!
#1 Quality (and affordable) Bakeware
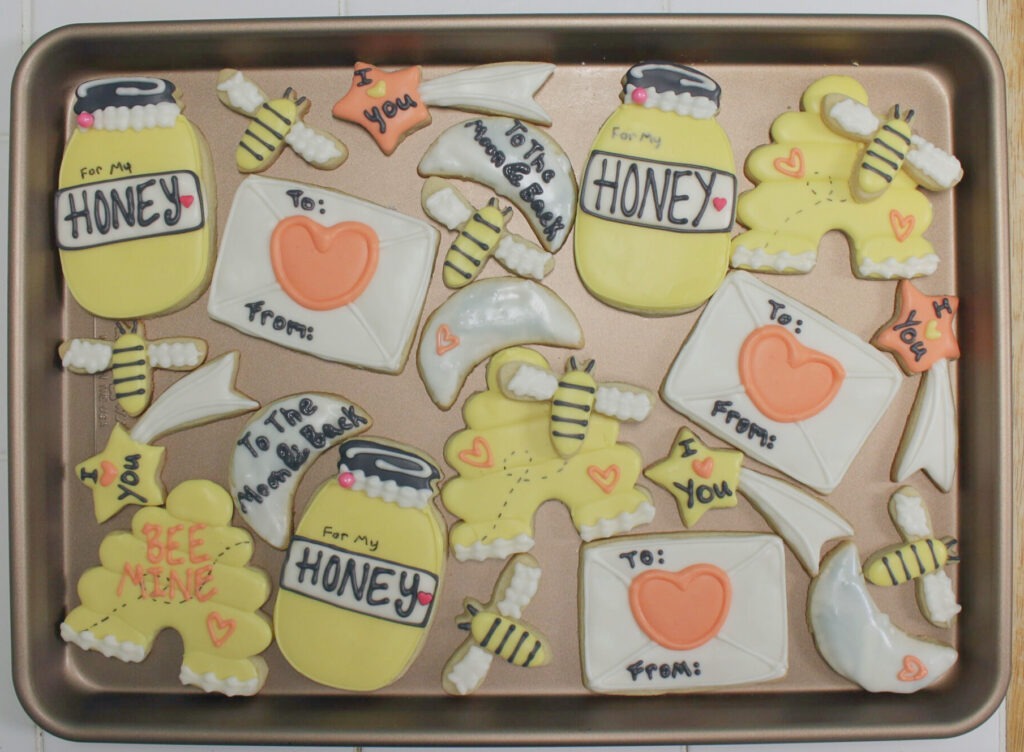
Nordic Ware Naturals Non-Stick Baking Trays are durable.
These 13 x18 in natural aluminum pans are designed for commercial use which means that they are heavy duty and made to produce quality desserts. They are also made in the USA.
I’ve found that these pans are durable and my cookies bake evenly! I have the pans in a copper color which are from their non stick line!
Avoid dark colored bakeware because it absorbs heat and spreads it quicker. This means that the bottoms of cookies get darker faster and don’t cook evenly.
For pans that last for years to come, you can protect them covering these pans with parchment paper. I recommend having two pans because most cookie recipes make 24 cookies. If you don’t have the patience to wait for one pan to be done, two will cut down baking time!
Fat Daddio’s Round Cake Pans, 6 x 2 are perfect for getting even cake layers!
Invest in some straight edge cake pans and you’ll get cakes that bake up evenly and give you the same result each time.
I bought three, 6×2 pans and three of Fat Daddio’s 8×2 round pans. Personally, I bake 3 layer cakes that are 6in or 8in rounds. Having three pans means the cake layers all bake and cool at the same time. These pans have a height of 2 inches, to stack more layers without being too tall.
USA Pan Bakeware Muffin Pan 12 ct work well for both cupcakes and muffins.
This cupcake/muffin pan is made of aluminized steel and has non-stick coating. I like it because its heavy duty which feels professional!
The few inches extra space on either end of the pan make it easier to grab out of the over with an oven mitt.
#2 Turntable for Cake Decorating
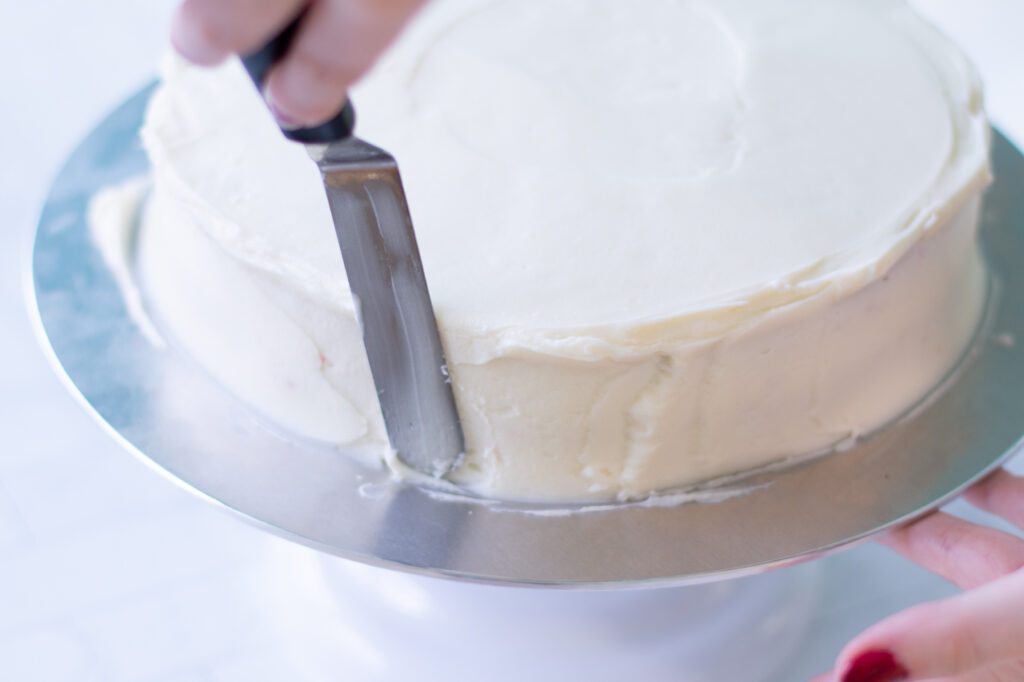
If you want to decorate a buttercream cake with even sides, you need a turntable. It makes decorating a lot easier and looks professional. It can take time to get used to a turntable, but once you do, you will love it!
My first cake stand was cheap and plastic and I learned so much about icing a cake. You can definitely work with a plastic turntable when you first start. This one from Fat Daddio’s is good for beginners.
However, if you are able to make the investment and plan to decorate lots of cakes, I do recommend an aluminum turntable with a cast iron base. This one from Ateco can hold heavy cakes, the aluminum surface is flat and leveled, and will last for years.
This one also has a non-slip pad which keeps your cake board from moving around when icing (which is super annoying!).
#3 Offset Spatula
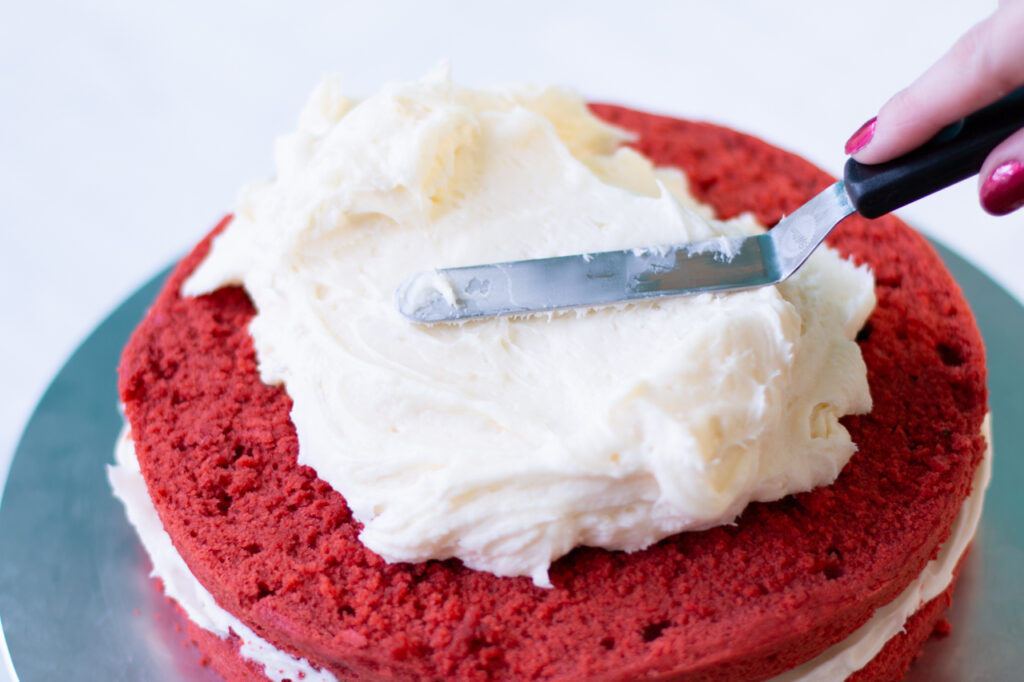
An offset spatula is probably my favorite cake tool ever. It’s used with every cake I ice. It spreads frosting and fillings in-between cake layers, and helps to put frosting on the cake.
You can use an offset spatula for decorating cakes with certain buttercream designs like frosting swirls. It can help get sharp edges on the top of your cakes. You can spread chocolate frosting over brownies, cream cheese frosting over red velvet cake bars, etc.
#4 Bench Scraper
A bench scraper will help you get those smooth cake sides! This is an essential cake decorating tool.
The first bench scrapper I used was this 6in stainless steel bench scraper from Sur la Table. It’s easy to clean and works for cakes that are 6in and shorter. This is usually the perfect size for my cakes. It also comes in a pretty copper color. These are also great for measuring because there’s a ruler printed on one side.
If I need something a little taller, I highly recommend this 7in bench scraper from Fat Daddio’s. The plastic handle is easy to hold and the scraper is also stainless steel. This also features a ruler!
Stainless steel bench scrapers can retain some heat when you run it under hot water for a minute or two. Then you dry it and use the heated bench scraper to smooth the cake sides.
If you’re looking to ice really tall cakes, this bench scraper is 9in tall and works well. It’s also stainless steel!
#5 Piping Tips
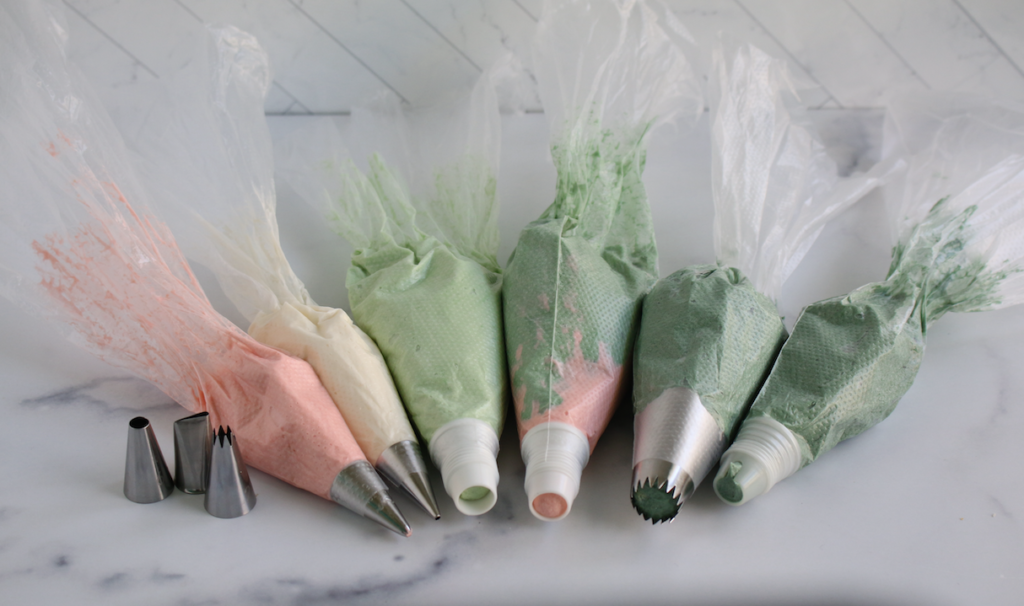
Piping tips can be used for so many cake designs! You can even use them to pipe on sugar cookies with stiff consistency royal icing.
Using piping tips can take practice but the amount of ways to use them are endless. I recommend getting a kit with an array of tips. This kit also has flower nails which are useful to pipe buttercream flowers.
There are also a few other tips that I recommend, especially for decorating cupcakes or making cake borders. This set has four tips that very popular for cupcakes like the rosette and 2D tip for buttercream swirls.
#6 Piping Bags
Piping bags come in all different sizes and even textures. Large piping bags work with extra large piping tips and hold a lot of frosting. Smaller piping bags are great for smaller tips and tip-less piping (cut the end of the bag and pipe without a tip. This is usually done for royal icing).
The piping bags I use are these 12in piping bags with dotted texture for a better grip. These bags are very light weight and easy to work with. The dotted surface is not overwhelming with its texture.
If texture does bother you, I recommend using these 12in piping bags with no added grip. These bags are slightly thicker and still provide great control when piping. If you want larger piping bags, these bags also come in the 18in size.
#7 Cake Boards
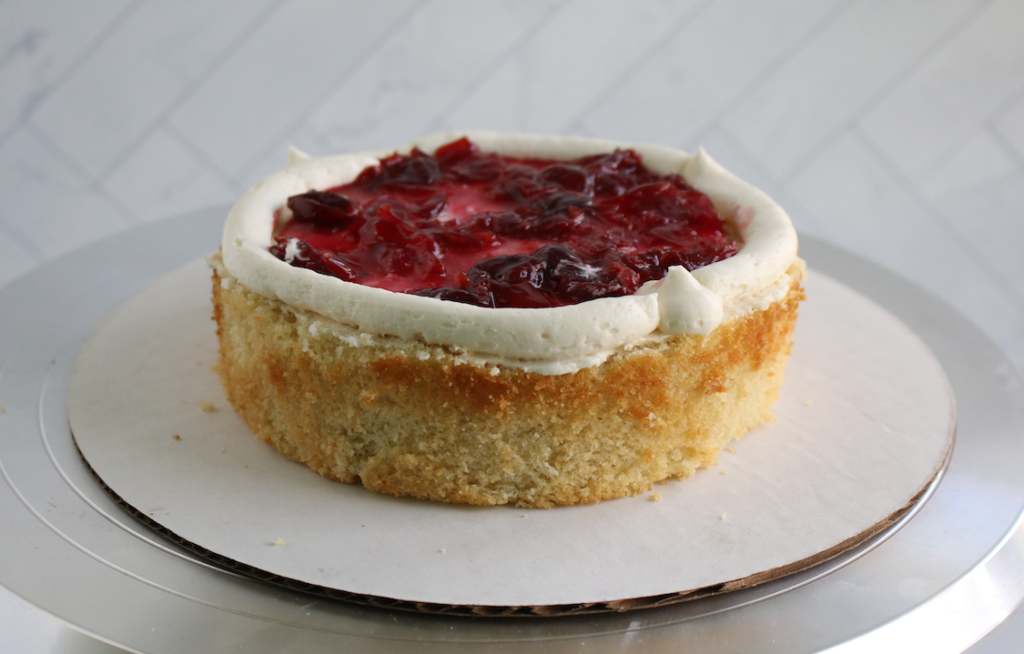
8in cake rounds are the best for me because I usually make 6in cakes. If I make 8in cakes, then I use 10in cake rounds.
Not all cake boards are made equal. Some claim they’re grease proof but after a few minutes, the butter from my frosting has stained the board. It doesn’t look great, so I always purchase these Wilton boards. They have multiple sizes to choose from. Usually, you want to get a cake board that is two inches larger than your cake so you have space to ice the buttercream and add designs.
If you want to make tiered cakes, look for card boards that have a hole precut in the center of the board. Wilton’s cake boards come with the hole which is convenient!
Not Necessary But Really Helpful
- Parchment Rounds – Pre-cut round parchment circles save you time from cutting out parchment paper and are less waste. It’s so easy to put one in your cake pan.
- Cake Drums – Heavy/tall cakes get sturdy support from a cake drum. These can be 1/2in thick which means transporting a cake is more secure and it can give cakes a little extra height if needed. There are also 10in drums for 8in cakes. I prefer the drums wrapped in plain white paper.
- Gel Food Coloring – AmeriColor is my go-to brand because it’s so vibrant, you don’t need many drops and they sell so many colors. When I first started seriously baking, I invested in the 50 color .74 oz kit and I’ve used every single color. You don’t need all the colors, but it was fun to test them out.
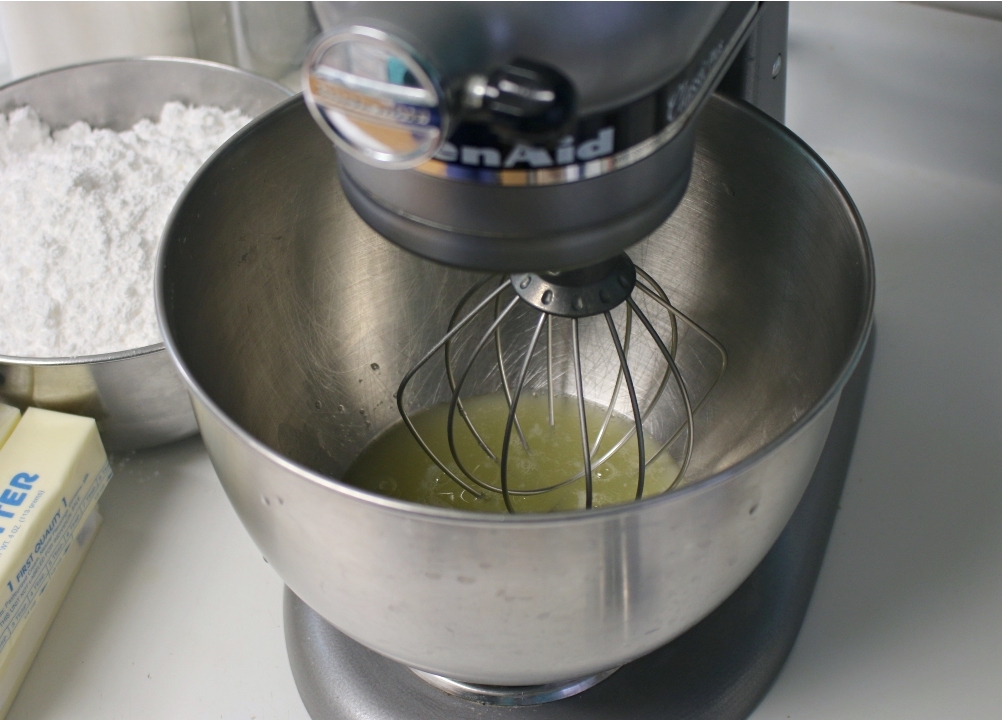
- Kitchen Aid Stand Mixer – I mix almost everything with a stand mixer. It really allows you to multitask, helps whip up frostings and meringues, it’s my most used tool.
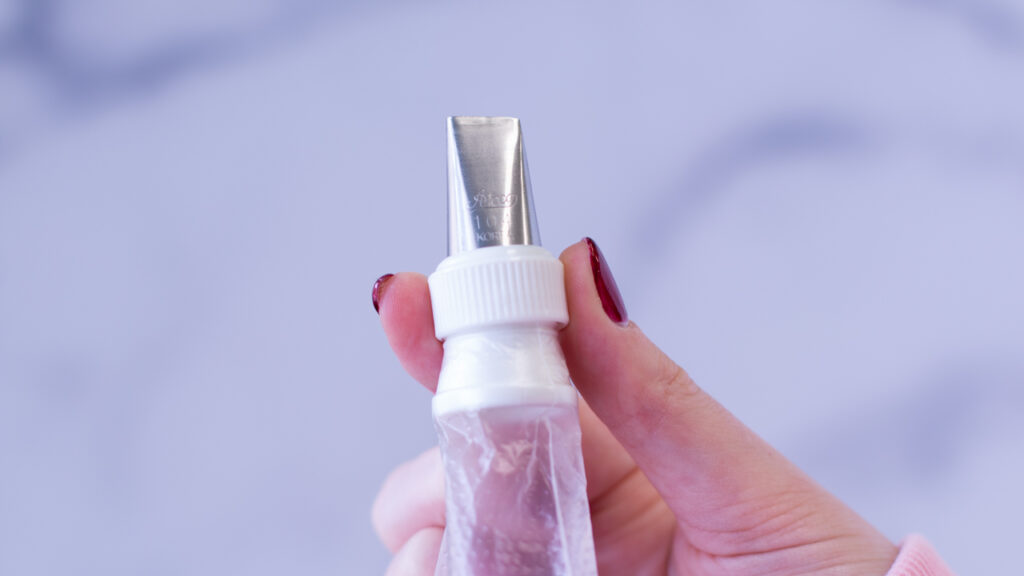
- Couplers – When you want to use a piping tip for multiple colors, a coupler really comes in handy.
- Scribe Tool – While you can use a toothpick to pop air bubbles in royal icing and use it help create you design, a scribe tool is reusable and sharper.
- Heating Core Set – These nails help bring heat to the center of your cakes so they cook evenly. This work well for large cakes.
- High Quality Cupcake Liners – Not all liners are made the same. Some can bleed color, some can get oily, and they also look flimsy. Take your cupcakes to the next level with good quality liners.
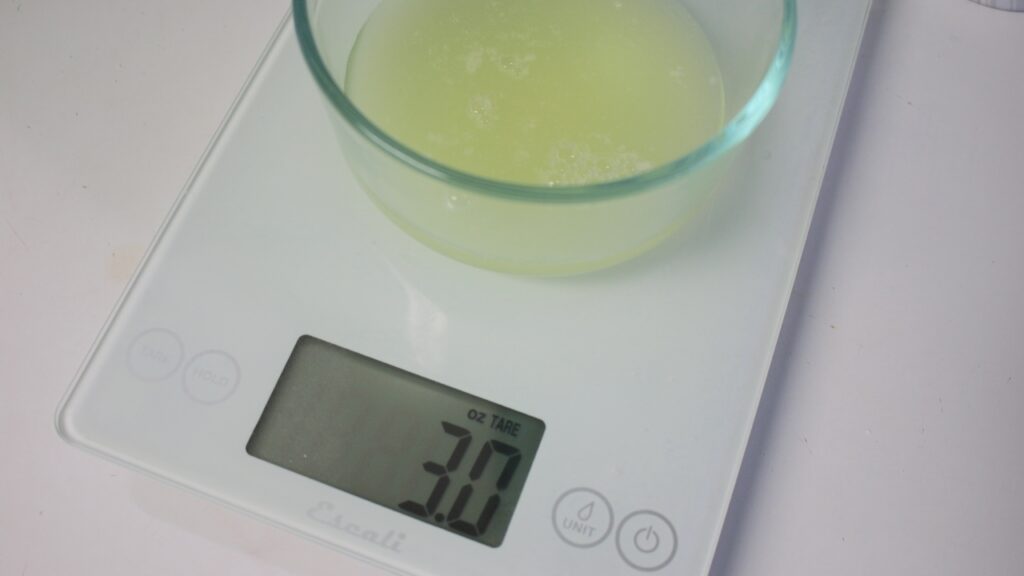
- Food Scale – Honestly, this should be in the list above, but I know a lot of people use cup measurements. Since I changed to using a digital scale about four year ago, my baking improved.
Not Necessary But Cool To Own!
- Cake Carrier – If you need to transport cakes 8in or less, the safest way is in a cake carrier. I have used this one for years and the locks on the side really help to keep the lid closed shut for freshness.
- Cupcake Carrier – Just like a cake carrier, a cupcake carrier can be really helpful if you have to travel with desserts! I bought this one because its also a carrier for sheet cakes!
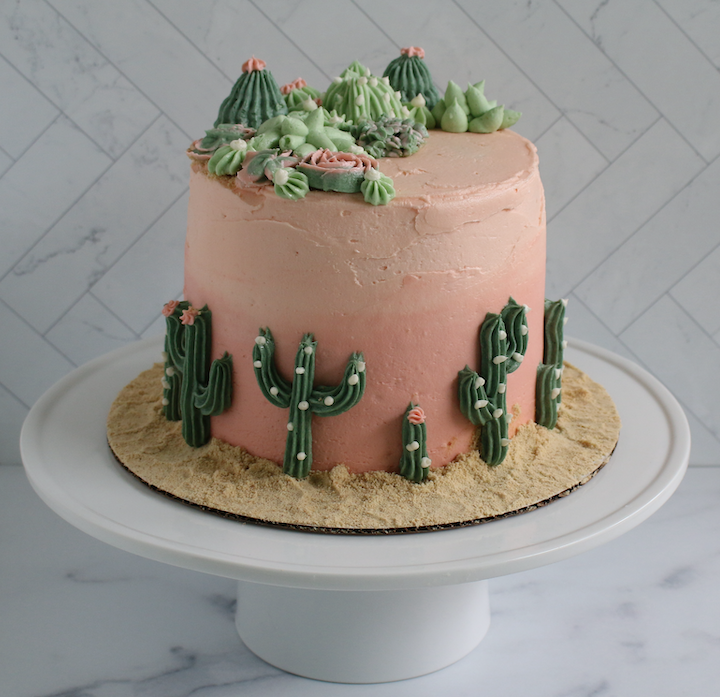
- Cake Stand – I’m obsessed with cake stands. If you take pictures of your cakes, it just adds so much extra detail and “fanciness” to them. It’s great to use them for cakes on a dessert tables. There are so many styles and colors out there you could have a closet full (like me…) but starting with a white porcelain stand is classic and works with almost any cake design.
- Air Brush Machine – An air brush tool adds so much dimension to your cookies and cakes and it’s just fun to use! This is the one I got to work with!
- Food Safe Brushes – This will help you paint on luster dust or use the big fluffy brush to add edible glitter ?
- Cake Stand with a Glass Dome – After baking muffins or other yummy pastries, it’s fun to stick them on a cake stand with a dome. It’s aesthetically pleasing to see the desserts on your counter and makes it easy for your family to grab one!
- Dye Free Sprinkles – Colorful sprinkles are so cute and I love putting sprinkles on everything. For special diets, this brand is helpful and they’re crunchy!

- Edible Glitter – This glitter is FDA approved and adds some shine to desserts! I love using edible glitter because I love glitter…
- Edible Glitter Dusting Pump – This is the third dusting pump I’ve tried and it’s my favorite. It sprays out the glitter easily and it’s easy to store in the little canister it comes in.
- Luster Dust – The difference between luster dust and edible glitter is that luster dust has a more concentrated shine. You can mix this with vodka or clear vanilla extract and make a thin mixture to paint on sugar cookies and cakes.
- Pretty Crunchy Sprinkles – I love sprinkles because they add color and texture. This brand makes fresh, crunchy sprinkles and that added texture is so nice. But beware, sprinkles that are fresher do expire faster.
